Last week my teacher emailed me a document with Chinese homework for the holiday. I thanked her and told her: 作业是我的圣诞礼物, to which she simply laughed back. Anyway, one of the tasks I thought I could start straight away was making vocabulary cards.
We were told to make a minimum of 100 cards using the core vocabulary from our course booklet. I know it’s a simple task, but I will show you how I made my cards so that you can follow the steps yourself if you are learning a language (I’ll give you extra points for choosing Mandarin). I have written this in fairly simple steps which take me back to tedious GCSE coursework, but the method’s very effective so do take a look.
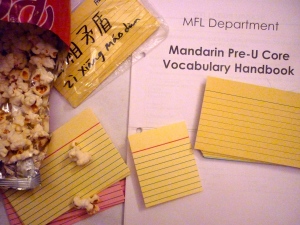
These are some of the things I had in front of me. New flashcards, a few cards with idioms I had written on them, and some popcorn…because this was well after I had eaten and I got hungry (making 100 takes time so grab a snack).
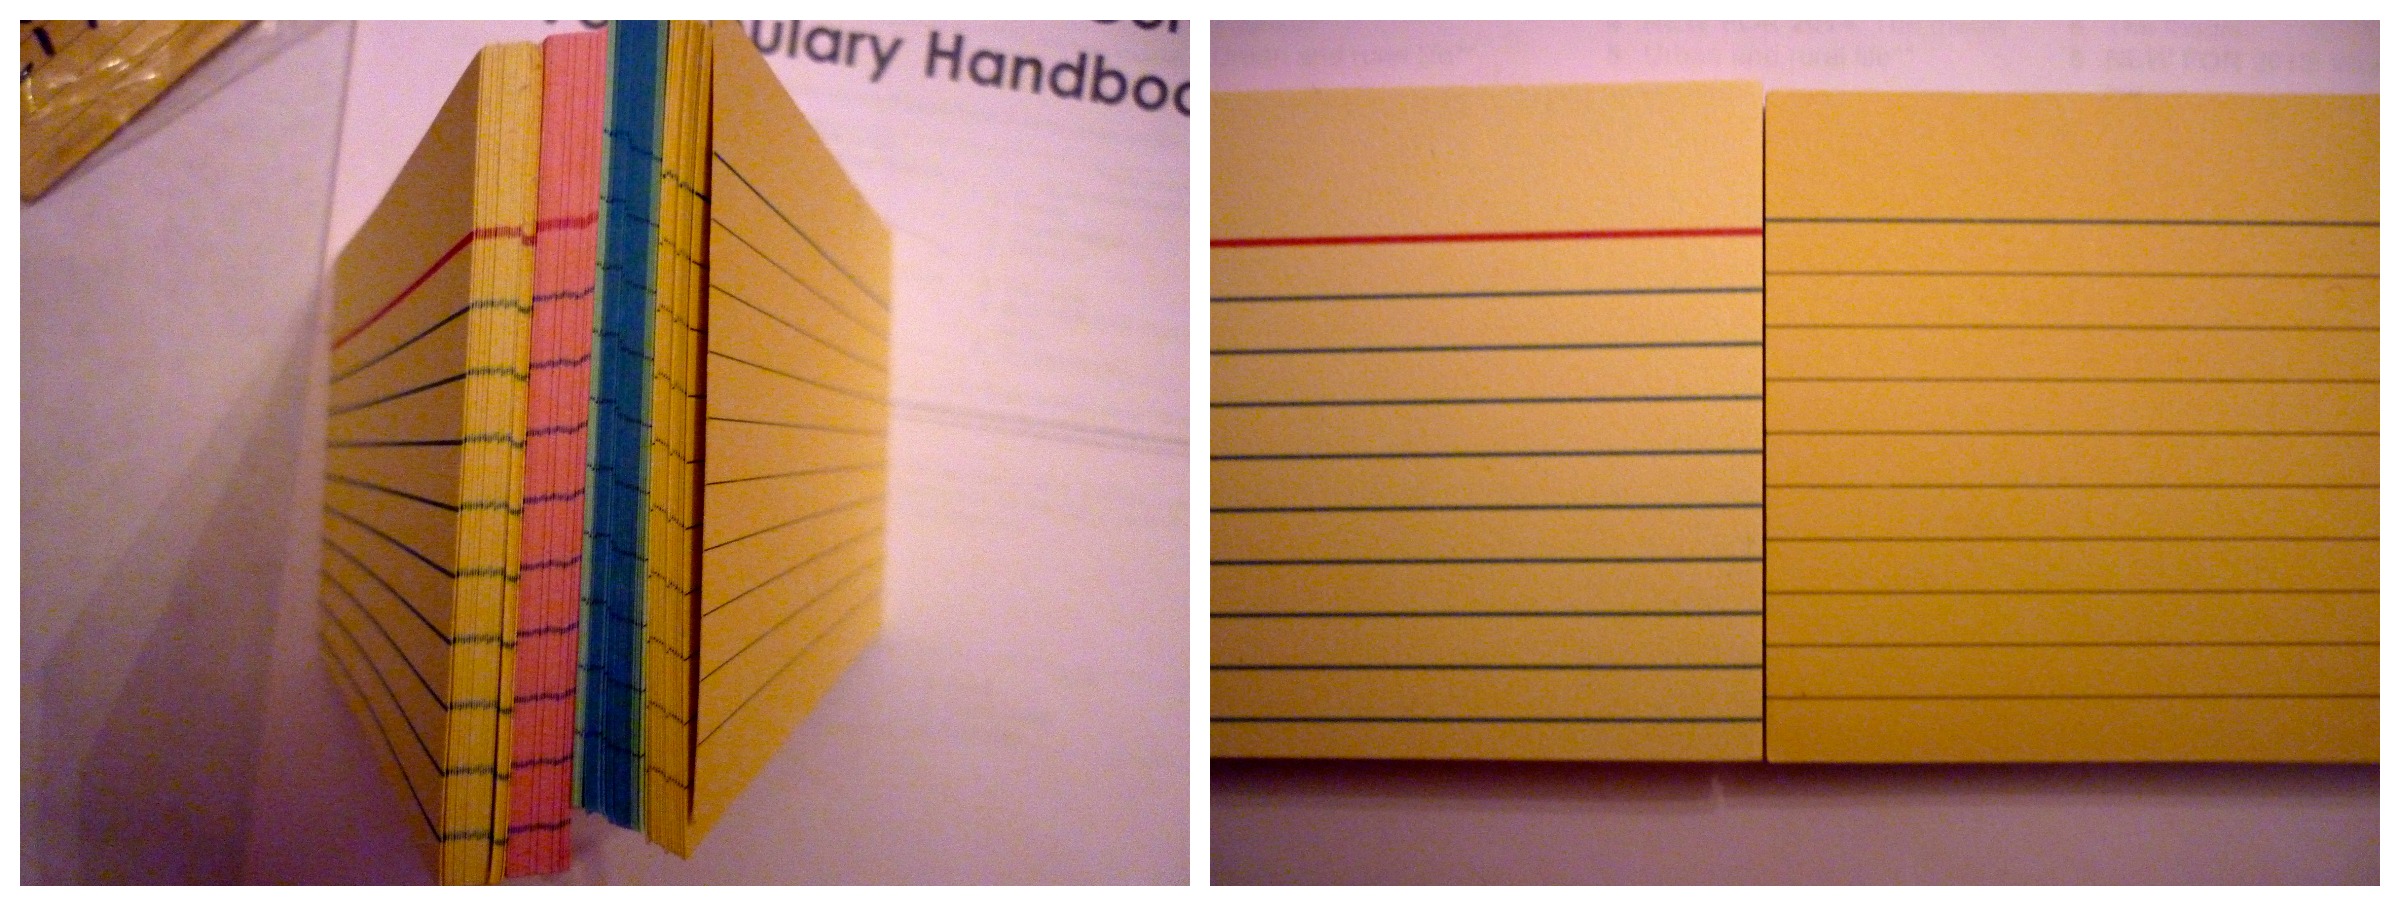
The first step I took was to choose the cards that I was to be writing on. I had a variation of colours, sizes and line shapes. Whilst this may sound a bit inconsequential, if you are a visual learner it could make all the difference.

On the photo on the left I have shown you an array of coloured cards. I chose to use yellow and pink because they are not too dark and would allow my writing to be clearly visible. The photo on the right shows two different types of yellow card (two different types of lines). Initially I thought the card on the left would be a bit bright, but I decided that I could later tone it down with my Chinese ink.
This is may not work for revision in other subjects, but a little while ago I suggested to my classmate who was making flashcards to cut her cards in half. I realized that the vocabulary only takes up the center of a normal sized card, therefore cutting it in half makes effective use of space and also doubles the amount of cards you have to use (great if you also make 100). To go about cutting the cards I chose a method of perfectionism, but you could quite simply just cut your cards in half if that would be faster.
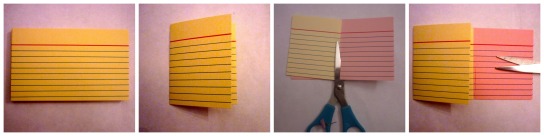
As shown in the photo above, I folded a yellow card in half, cut it through the crease line, put one half against a pink full sized card, and then cut the pink card. *Repeat, repeat, repeat as necessary* After a while I finally had my cards cut to size.
When I was given the vocabulary booklet last year I had already marked the words that I am familiar with. This time I reviewed all of the pages and highlighted the words that I have not learnt or memorized. After that I used a felt-tip to mark ticks next to the highlighted words that would be most useful in exams. I counted the number of words that I had marked and scrutinized the pages until the list was narrowed down to 100 (you can always make more later).
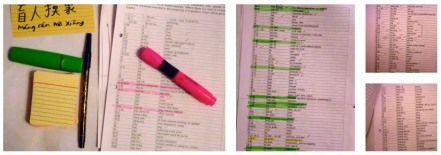
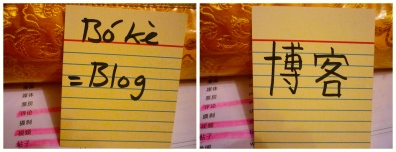
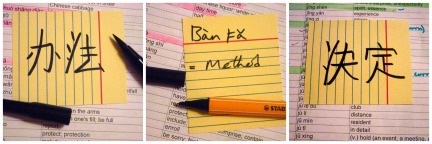
I kept the format of my cards consistent by making the words face the same direction on each card. I used a special calligraphy brush pen to write the words because it made the words stand out, however one of the photos below shows a different type of pen I used when I was experimenting with width. The first two photos shown are the front and back of one of the vocab cards.
You could also hole punch the top and put a string around them if you have trouble storing your cards.
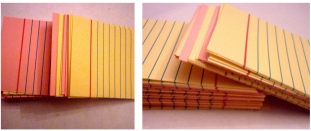
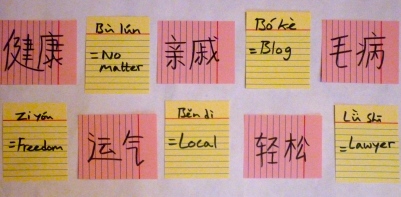
The final photo I will show is a selection of cards that I made. I will point out that the card beside each individual card is not the translation of the word and they are just a random selection of vocabulary.
I think they came out well 🙂
I have now completed my illustrative post. I hope you found it helpful and do let me know if you choose to follow my steps. This post took me a while to complete, (which is why I had delayed it for a day or two) but I hope you enjoyed my first post of 2015.
If you ever need to make vocabulary cards, good luck 世界。
从欣妍 – From Xinyan.


 I’m not entirely sure if I have covered the title topic in an earlier post, but your response to actively search the pronunciation of my name is the most opportune moment for me to elaborate how to pronounce Chinese characters. To keep it simple we shall focus mainly on Pinyin, which as you know is the transliteration of Chinese characters (characters are types of non-romanised words). Also, I am speaking of pronunciation in terms of how things sound and nothing else.


 The radical on the top right means eye, and the one at the bottom is one of the radicals meaning heart (there are certain words that have more than one radical equivalent). In this character and in many others, the heart radical suggests the meaning of the word and the top half of the character provides the sound. There is no definitive way to determine how a character sounds or is to be read, as the radicals will be arranged in different places depending on the character. Therefore you cannot rely on the placement of radicals from a character that you are familiar with to determine where the sounds and meaning are derived. This is one of the reasons why reading Chinese can be difficult at times. On the other hand the benefit of the radical system is that you can grasp the ideas in a text without necessarily understanding what is written because you can engage with the meaning of radicals. E.g. if you saw the claw radical in a leaflet you could assume that the text is being written about animals. The statement that Chinese is a pictographic language sums up this idea.